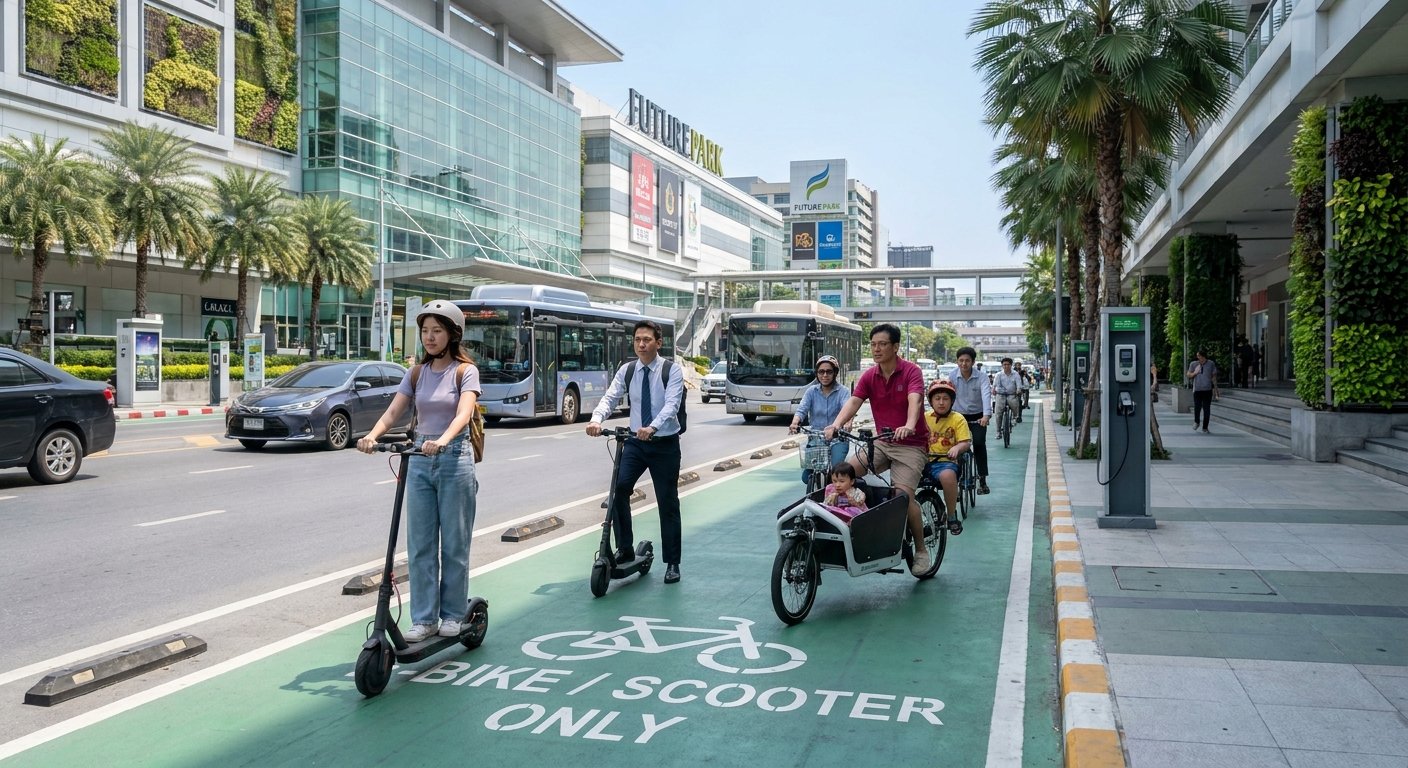
Okay, this is a comprehensive request! I’ll break it down as you suggested, providing the code for each part.
—
## 1. Plugin Core Files
First, create the `project-showcase` folder in your `wp-content/plugins` directory. Inside it, create `project-showcase.php` and an `includes` subfolder.
jQuery(document).ready(function($) {
$(‘.project-showcase-slider-wrapper’).each(function() {
var $sliderWrapper = $(this);
var $slides = $sliderWrapper.find(‘.project-showcase-slide’);
var currentSlide = 0;
var totalSlides = $slides.length;
if (totalSlides === 0) {
return; // No slides to show.
}
// Initialize: ensure only the first slide is visible.
$slides.hide().first().show().addClass(‘active’);
// Next slide function
function showNextSlide() {
$slides.eq(currentSlide).hide().removeClass(‘active’);
currentSlide = (currentSlide + 1) % totalSlides;
$slides.eq(currentSlide).show().addClass(‘active’);
}
// Previous slide function
function showPrevSlide() {
$slides.eq(currentSlide).hide().removeClass(‘active’);
currentSlide = (currentSlide – 1 + totalSlides) % totalSlides;
$slides.eq(currentSlide).show().addClass(‘active’);
}
1. **Create Plugin Folder:**
* In your WordPress installation, navigate to `wp-content/plugins/`.
* Create a new folder named `project-showcase`.
2. **Add Plugin Files:**
* Place `project-showcase.php` directly inside the `project-showcase` folder.
* Create an `includes` folder inside `project-showcase` and place `custom-post-type.php`, `meta-boxes.php`, `frontend-display.php`, and `shortcode.php` there.
* Create a `page-templates` folder inside `project-showcase` and place `page-project-showcase.php` there.
* Create an `assets` folder inside `project-showcase`. Inside `assets`, create an `css` folder and place `project-showcase.css` there.
* Inside `assets`, create a `js` folder and place `project-showcase-slider.js` there.
3. **Activate Plugin:**
* Go to your WordPress admin dashboard -> Plugins.
* Find “Project Showcase” and activate it.
4. **Install Select2 (for Multi-select field):**
* The meta-boxes.php file uses a CDN for Select2. For a production site, it’s better to download the Select2 library (from [https://select2.org/download](https://select2.org/download)) and place its `select2.min.css` in `project-showcase/assets/css/` and `select2.min.js` in `project-showcase/assets/js/`. Then, update the `wp_enqueue_style` and `wp_enqueue_script` calls in `meta-boxes.php` to point to your local files using `PROJECT_SHOWCASE_PLUGIN_URL`.
* For this example, the CDN link is used and should work immediately for testing.
5. **Add Projects:**
* After activating, a new menu item “Project Showcase” will appear in your admin sidebar.
* Go to `Project Showcase -> Add New`.
* Fill in the title, content (excerpt will be pulled from here), set a featured image, and fill in the custom fields (Client Name, Project URL, End Date, Technologies, and add multiple screenshots).
* Publish a few projects.
6. **Create Showcase Page:**
* Go to `Pages -> Add New`.
* Give your page a title (e.g., “My Projects”).
* On the right sidebar, under “Page Attributes” (or “Template” in the Block Editor), select the “Project Showcase Template” from the dropdown.
* Publish the page.
* Now, visit this page on your front end to see all your projects displayed.
7. **Use Slider Shortcode:**
* To display the slider, create a new page or edit an existing one.
* In the content editor (classic or block), simply add the shortcode: `[project_showcase_slider]`
* Publish/Update the page and view it on the front end.
—
This setup provides a robust and flexible solution for managing and displaying your project showcases within WordPress.
ไทยมุ่งสู่เมือง EV เต็มรูปแบบปี 2026! รัฐบาลเร่งขยายสถานีชาร์จและสนับสนุนนโยบาย 30@30 พร้อมรถ EV รุ่นใหม่เตรียมบุกตลาด สัมผัสความก้าวหน้าของยานยนต์ไฟฟ้าในไทยได้ที่นี่